Generally faculty have created three types of class blogs: course information site (no student blogging), class blog (all students added as Authors to the course site), course site with student blogs (students each have their own blog and their posts are fed into the course site). Let’s walk through how to create each type of site and best practices for archiving them.
Creating a course site
Creating a course information site is fairly straight forward and will need to be done even if you plan on having a class blog or individual student blogs that feed into the class blog.
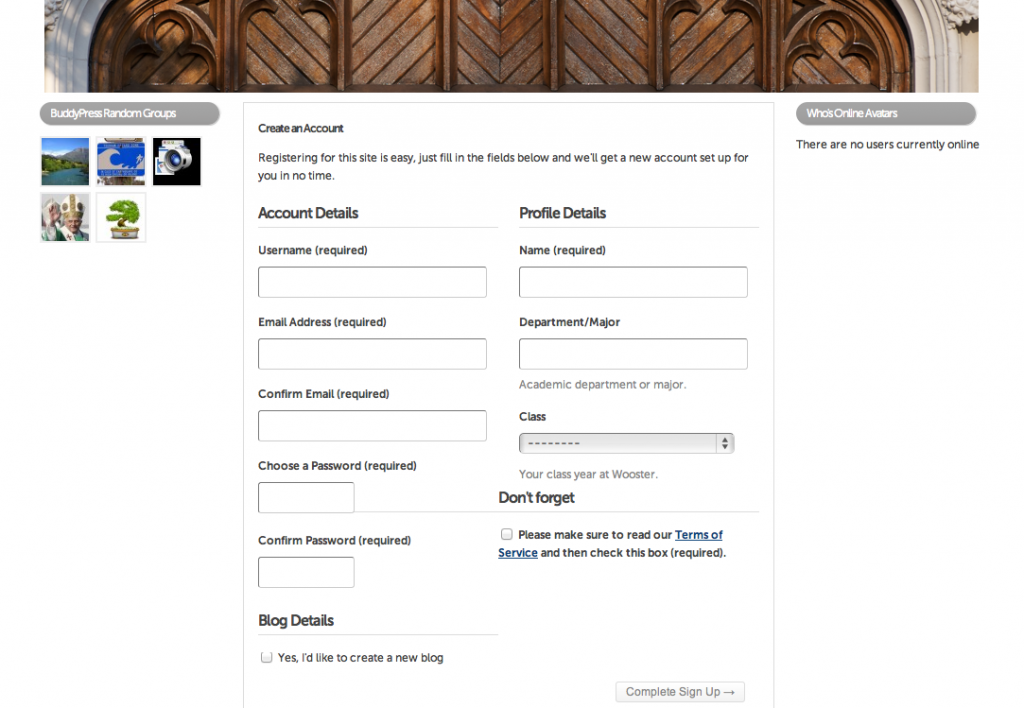
- Start by registering with Voices by clicking on Sign Up in the top left of your browser window or in the bar under the header image.
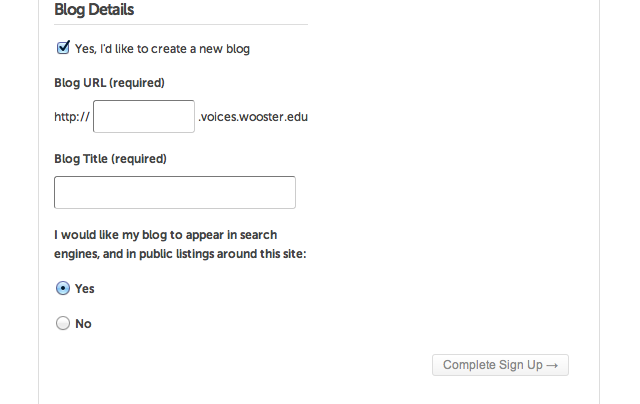
- Fill in the requested information. Make sure to check the acknowledgment of reading the terms of service, and if creating your own blog, Yes, I’d like to create a new blog.
- (If creating your own blog) In the box under Blog URL (required) enter the part of the URL you want to appear before .voices.wooster.edu. If you plan on using the site for multiple semesters you probably want to avoid using years in this field. Also, your choice can only include lowercase letters or number (no spaces, underscores, or other special characters).
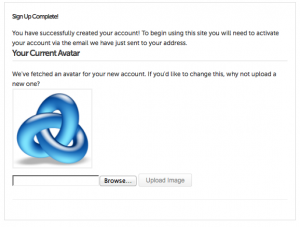
- When you have entered all the requested information and checked the terms of service box, click on Complete Sign Up. On the following screen you’ll be presented with a place to upload an avatar (best to use an image that is about 155 px by 155 px. If you use the Globally Recognizable Avatar (Gravatar) service then Voices will display the avatar you have associated with your Wooster e-mail. If you don’t have a Gravatar you might consider creating one.
- At this point you should check your e-mail for the activation link that should have been mailed to you. Click the activation link in the e-mail and proceed to login to the site.
Pointers
- The username and password you use for Voices does not have to match your Wooster username and password. In fact for students it is recommended that they do not use their Wooster username when signing up with Voices.
- Your password will not change like your regular Wooster password.
Creating a class blog
- To create a class blog a faculty member would complete the steps above for creating a Course site.
- Once this is done the faculty member would activate the Simple Import Users plugin on the Plugins page (already activated if using one of the course site templates).
- Now, click on the Tools panel and click on Import Users. At this point you should see a screen similar to the one below.

- You can copy and paste the e-mail addresses of your students into the text box (one e-mail per line). This step should not be done until all of your students have signed up for Voices.
- At this point all of your students will be able to write posts on the class blog.
Creating a course site with student blogs
- The faculty member needs to complete the steps for Creating a course site and Creating a class blog. In addition, each student will need to complete the steps for Creating a course site.
- The faculty member will need to enable the Add Link Widget and FeedWordPress plugins.
The Add Link Widget will allow the faculty member to add a widget to the course site’s sidebar where students can submit the link to their blog. The FeedWordPress widget will pull the posts from each student blog and post them on the class blog. Until a screencast of enabling and configuring these two plugins is completed, faculty should feel free to contact the helpdesk for help.


